Published on 2018-12-19 by Anonymous
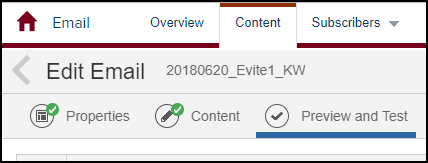
This should be one of the final steps of the email creation process. You should find yourself under the Content tab and Preview and Test (shown below).
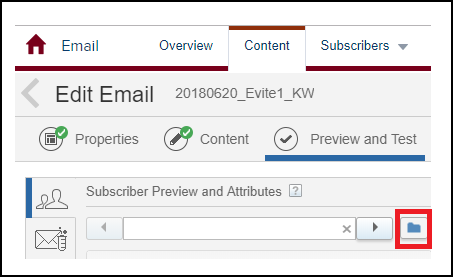
1. Click on the small button with a picture of a folder.
2. Click on the folder and use the window on the left to navigate to the data extension folder. Select the data extension you will be sending this email to.
3. The large window to the right will load a preview of the list of subscribers from the data extension you selected.
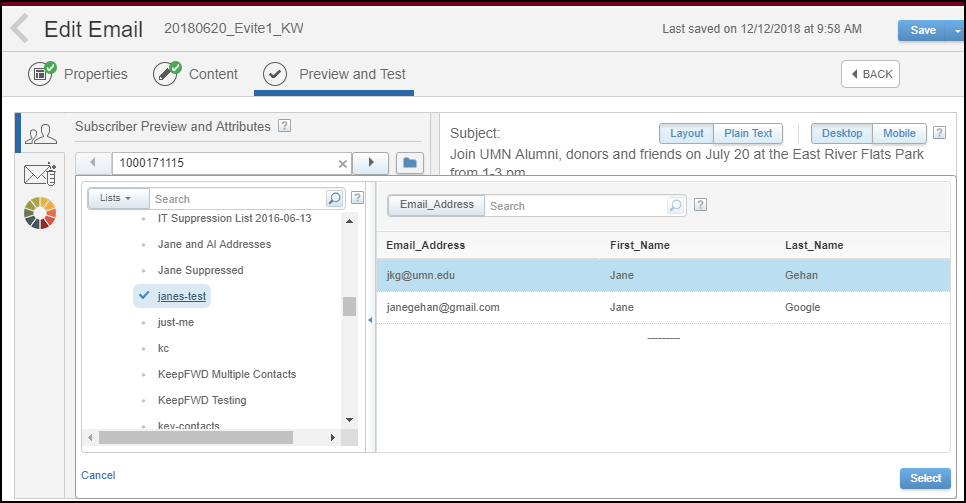
4. Next in the large window, select any subscriber you would like to preview and click on the select button.
5. You can click the left and/or right arrows next to the subscriber’s email address to preview how the personalization strings will look to that subscriber.
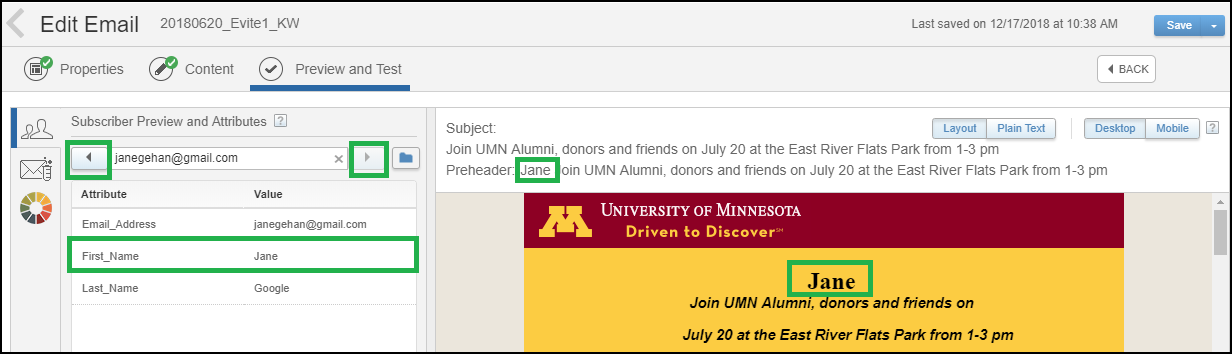
Note: This also assumes that your personalization strings are columns in the data extension you have selected. We recommend you do NOT use personalization strings listed under Profile Attributes; they are not reliable.
6. Final step: Send yourself a test send. Select the envelope next to the left arrow. Your email should automatically populate. Include any additional email addresses that you would like to receive this test send.
Note: The system will use the last subscriber that was selected in the preview screen for your test send.
View all Marketing Cloud Blog posts on our website.
Contact the SMC Admins for help at [email protected]
Send your blog ideas or submit a blog post to [email protected]